本文实例为大家分享了android实现购票起始点位置交换的具体代码,供大家参考,具体内容如下
效果图:
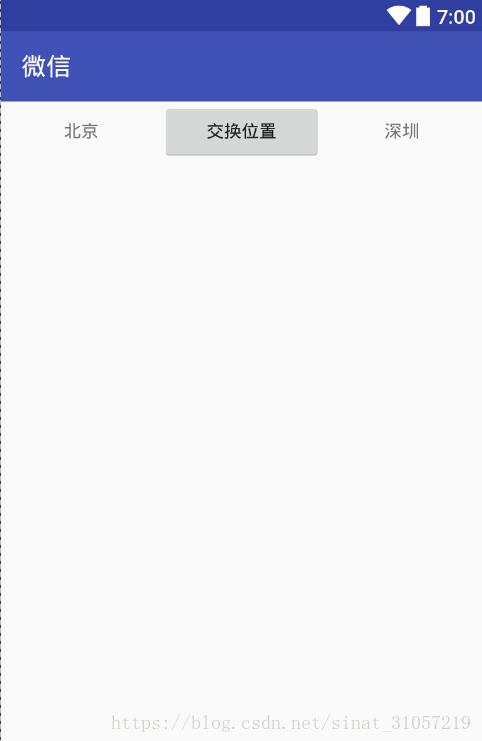
点击交换位置按钮,北京和深圳布局交换位置。
xml布局文件:
<?xml version="1.0" encoding="utf-8"?>
<LinearLayout xmlns:android="http://schemas.android.com/apk/res/android"
  android:layout_width="match_parent"
  android:layout_height="match_parent"
  android:fitsSystemWindows="true"
  android:orientation="horizontal">

  <TextView
    android:id="@+id/left_tv"
    android:layout_width="0dp"
    android:layout_height="wrap_content"
    android:layout_weight="1"
    android:gravity="center"
    android:text="北京" />

  <Button
    android:id="@+id/btn"
    android:layout_width="0dp"
    android:layout_height="wrap_content"
    android:layout_weight="1"
    android:gravity="center"
    android:text="交换位置" />

  <TextView
    android:id="@+id/right_tv"
    android:layout_width="0dp"
    android:layout_height="wrap_content"
    android:layout_weight="1"
    android:gravity="center"
    android:text="深圳" />

</LinearLayout>
java代码:
public class TESTButtonActivity extends AppCompatActivity {
  private int startX;
  private int endX;
  private TextView leftCityTextView;
  private TextView rightCityTextView;
  private ValueAnimator endCityAnimator;
  private ValueAnimator startCityAnimation;

  @Override
  protected void onCreate(@Nullable Bundle savedInstanceState) {
    super.onCreate(savedInstanceState);
    setContentView(R.layout.activity_button);

    leftCityTextView = ((TextView) this.findViewById(R.id.left_tv));
    rightCityTextView = ((TextView) this.findViewById(R.id.right_tv));

    Button mBtn = ((Button) this.findViewById(R.id.btn));
    mBtn.setOnClickListener(new View.OnClickListener() {
      @Override
      public void onClick(View v) {
        startCityAnimation.start();
        endCityAnimator.start();
      }
    });
  }

  private void getLocation() {
    int[] startXLocation = new int[2];
    leftCityTextView.getLocationOnScreen(startXLocation);//获取坐标
    int[] endXLocation = new int[2];
    rightCityTextView.getLocationOnScreen(endXLocation);
    startX = startXLocation[0];//0为x坐标
    endX = endXLocation[0];
  }

  @Override
  public void onWindowFocusChanged(boolean hasFocus) {
    super.onWindowFocusChanged(hasFocus);

    getLocation();

    int leftMoveX = endX - startX;
    int rightMoveX = endX - startX;

    startCityAnimation = ValueAnimator.ofInt(0, leftMoveX).setDuration(5000);
    startCityAnimation.addUpdateListener(new ValueAnimator.AnimatorUpdateListener() {
      @Override
      public void onAnimationUpdate(ValueAnimator animation) {
        int value = (int) animation.getAnimatedValue();
        //重新布局
        leftCityTextView.layout(startX + value,
            leftCityTextView.getTop(),
            startX + value + leftCityTextView.getWidth(),
            leftCityTextView.getBottom());
      }
    });

    endCityAnimator = ValueAnimator.ofInt(0, rightMoveX).setDuration(5000);
    endCityAnimator.addUpdateListener(new ValueAnimator.AnimatorUpdateListener() {
      @Override
      public void onAnimationUpdate(ValueAnimator animation) {
        int value = (int) animation.getAnimatedValue();
        //重新布局
        rightCityTextView.layout(endX - value,
            rightCityTextView.getTop(),
            endX + rightCityTextView.getWidth() - value,
            rightCityTextView.getBottom());
      }
    });

    endCityAnimator.addListener(new Animator.AnimatorListener() {
      @Override
      public void onAnimationStart(Animator animation) {
      }

      @Override
      public void onAnimationEnd(Animator animation) {
        //用于下次交换
        TextView tempTextView = leftCityTextView;
        leftCityTextView = rightCityTextView;
        rightCityTextView = tempTextView;
      }

      @Override
      public void onAnimationCancel(Animator animation) {
      }

      @Override
      public void onAnimationRepeat(Animator animation) {
      }
    });
  }
}
以上就是本文的全部内容,希望对大家的学习有所帮助,也希望大家多多支持悠悠之家。
发表评论 取消回复