安装axios和实现通信
这里我们通过axios来连接Vue前端和Flask后端,使用AJAX请求进行通信。使用如下命令安装
npm install axios
axios的使用格式:
import axios from 'axios';
  export default {
    data: function () {
      return {
        serverResponse: 'res_test'
      };
    },
    methods: {
      getData() {
        // 设置对应python的接口,这里使用的是localhost:5000
        const path = 'http://127.0.0.1:5000/getMsg';
        // 这里要使用 res =>表示返回的数据
        axios.get(path).then(res => {
          // 这里服务器返回response为一个json对象
          // 通过.data来访返回的数据,然后在通过.变量名进行访问
          // 可以直接通过response.data取得key-value
          var msg = res.data.msg;
          this.serverResponse = msg; // 因为不能直接使用this作为指针,因此在这之前将this赋给了then指针
          alter('Success' + response.status + ',' + response.data + ',' + msg); // 成功后显示提示
        }).catch(error => {
          console.error(error);
        });
      }
    },
  }
代码及演示
前端代码
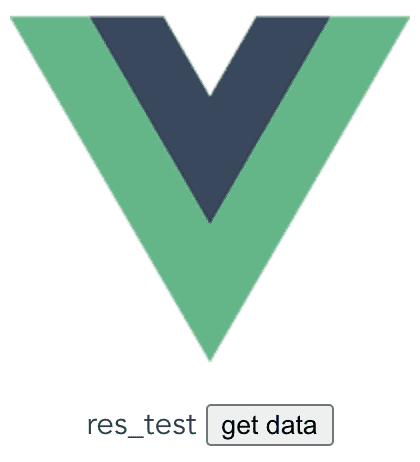
对./components/HelloWorld.vue文件进行改写。代码如下:
<!-- html部分 -->
<template>
  <div>
    <span>{{ serverResponse }}</span>
    <!--这里使用{{}}来引用JavaScript中赋给this的值-->
    <button @click="getData">get data</button>
  </div>
</template>
<!-- js部分 -->
<script>
  import axios from 'axios';
  export default {
    data: function () {
      return {
        serverResponse: 'res_test'
      };
    },
    methods: {
      getData() {
        // 设置对应python的接口,这里使用的是localhost:5000
        const path = 'http://127.0.0.1:5000/getMsg';
        axios.get(path).then(res => {
          // 这里服务器返回response为一个json对象
          // 通过.data来访返回的数据,然后在通过.变量名进行访问
          // 可以直接通过response.data取得key-value
          var msg = res.data.msg;
          this.serverResponse = msg; // 因为不能直接使用this作为指针,因此在这之前将this赋给了then指针
          alter('Success' + response.status + ',' + response.data + ',' + msg); // 成功后显示提示
        }).catch(error => {
          console.error(error);
        });
      }
    },
  }
</script>
<!-- css部分 -->
<!-- Add "scoped" attribute to limit CSS to this component only -->
<style scoped>
  h1,
  h2 {
    font-weight: normal;
  }

  ul {
    list-style-type: none;
    padding: 0;
  }

  li {
    display: inline-block;
    margin: 0 10px;
  }

  a {
    color: #42b983;
  }
</style>
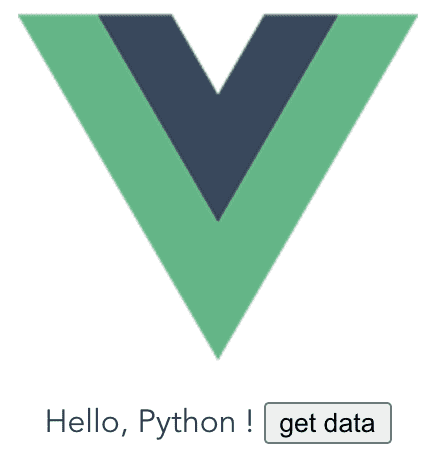
这里主要实现了通过单击按钮来和服务器端进行交互获得数据并传回前端,将得到的数据重新来对前端进行渲染。
得到如上页面之后,我们单击get date按钮,就会像后端发送GET请求,后端服务器监听到请求之后就会返回对应的数据。
客户端代码
from flask import Flask
from flask import jsonify
from flask_cors import CORS

app = Flask(__name__)
cors = CORS(app, resources={r"/getMsg": {"origins": "*"}})


@app.route('/')
def hello_world():
    return 'test!'

# 监听127.0.0.1:5000/getMsg请求
@app.route('/getMsg', methods=['GET', 'POST'])
def home():
    response = {
        'msg': 'Hello, Python !'
    }
    return response


if __name__ == '__main__':
    app.run()
到此这篇关于Vue和Flask通信的实现的文章就介绍到这了,更多相关Vue和Flask通信内容请搜索悠悠之家以前的文章或继续浏览下面的相关文章希望大家以后多多支持悠悠之家!
发表评论 取消回复